For New Bedford, Massachusetts homeowners looking to enhance their outdoor spaces, DIY fence installation offers a rewarding project that increases property value and offers peace of mind. This comprehensive guide breaks down the process into manageable steps, from yard preparation to final touches. Learn how to choose the perfect fence type, plan for accurate measurements, dig sturdy post holes, install posts and boards securely, and finish with expert painting tips for a long-lasting, beautiful new fence.
- Prepare Your New Bedford Yard for Fence Installation
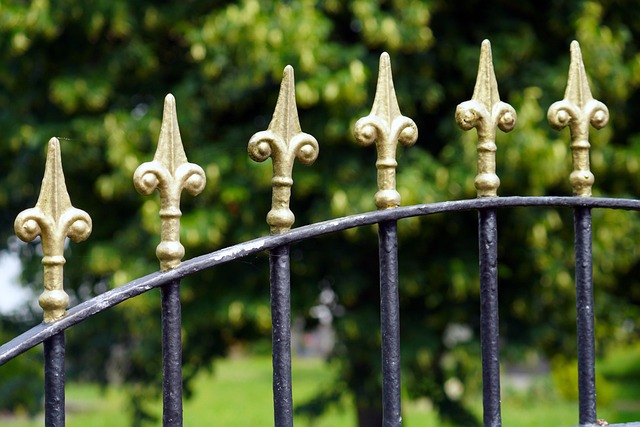
- Choose the Right Fence Type and Style for Your Home
- Measure and Plan Your Fence's Perimeter Accurately
- Dig Post Holes: A Step-by-Step Guide for Beginners
- Install Fence Posts and Connect Boards or Panels Securely
- Final Touches: Painting, Maintenance Tips for Longevity
Prepare Your New Bedford Yard for Fence Installation
Before installing your new fence, preparing your New Bedford yard is a crucial step. Start by clearing the area, removing any obstructions like bushes or trees that might interfere with the fence’s placement. This includes trimming back overhanging branches and digging out any existing debris or vegetation. Marking out the fence line with string or chalk will help ensure a straight and consistent installation.
Next, evaluate the soil conditions. A stable, level base is essential for a durable fence. If your yard has uneven spots or soft areas, consider compacting the soil or adding fill to create a solid foundation. This preparation not only ensures a more aesthetically pleasing fence but also increases its longevity by providing a sturdy anchor for the posts.
Choose the Right Fence Type and Style for Your Home
When considering fence installation, New Bedford homeowners should first select a fence type and style that complements their property’s unique features and personal aesthetic preferences. Factors like privacy, security, climate, and budget influence this decision. For instance, a sturdy wood fence offers charm but requires regular maintenance; whereas a durable vinyl option is low-maintenance but may lack the same classic appeal. Homeowners with swimming pools or play areas might opt for a safety fence to prevent accidents and keep children and pets secure.
The style of your home and surrounding landscape also plays a role in choosing the right fence. A traditional New England colonial could pair well with a formal, straight-lined wooden fence, while a modern contemporary home may suit a sleek, minimalist metal design. Consider your neighbors’ fences as well; aiming for a look that is cohesive within your street or neighborhood can enhance curb appeal and create a more harmonious community atmosphere.
Measure and Plan Your Fence's Perimeter Accurately
Before you begin installing your fence, accurate planning is crucial. Start by measuring the perimeter of the area where you want to place your fence. Use a tape measure to ensure precise measurements, considering any curves or corners that might be present in your yard. Mark these points clearly using stakes and string to create a visual guide for your fence’s outline.
This step is essential as it helps you determine the exact amount of fencing material needed, ensuring cost-effectiveness and avoiding waste. It also allows you to identify potential challenges like trees or other obstructions that might require adjustments in your initial plan.
Dig Post Holes: A Step-by-Step Guide for Beginners
To begin DIY fence installation, one of the most crucial steps for beginners is digging post holes. Start by marking the spots where your fence posts will go using stakes and string to ensure straight lines. Next, use a post-hole digger or shovel to create holes deep enough—typically around 3/4th the length of the fence post. The holes should be wide enough to accommodate the fence post’s diameter. For most standard fence posts, this means about 8 inches in diameter. Before inserting the posts, ensure the holes are perfectly vertical by using a level. Once ready, carefully place the posts into the holes and fill them with concrete, making sure the posts stand straight and secure. Allow the concrete to set completely before proceeding with the rest of your fence installation.
Install Fence Posts and Connect Boards or Panels Securely
When installing your fence, one of the crucial steps is setting and securing the posts. Start by digging holes for each post, ensuring they are deep enough to provide stability against shifting soil. Place the posts in the holes, keeping them level, and fill the gaps with concrete to secure them firmly in place. Once the concrete sets, attach the fence boards or panels to the posts. Use appropriate fasteners like nails or screws to connect them securely. Overlapping joints can help strengthen the fence and prevent rot or damage over time. Ensure all connections are tight and level for a sturdy, long-lasting fence.
Final Touches: Painting, Maintenance Tips for Longevity
After completing the fence installation, adding a coat of paint can significantly enhance its aesthetics and longevity. Choose a high-quality exterior paint suitable for the material of your fence. This step not only protects against the elements but also refreshes the overall look. Ensure proper preparation by cleaning and repairing any imperfections before painting to achieve a professional finish.
Regular maintenance is key to keeping your new fence in top condition. Inspect it periodically for signs of wear, such as splintered wood or rusted metal. Promptly address any issues to prevent further damage. Keep the fence clean, using pressure washers or soft brushes to remove dirt and debris, and reapply paint or sealant as needed. Regular maintenance will ensure your fence remains a beautiful and durable addition to your New Bedford property for years to come.